Note:
When you save a file from a console, BASIC ALL type file will be created in default. It always overwrite every parameter on the console when you load it.
A guest engineer brought his ALL file. How can I copy only one Scene from the file to the running console?
(The following instruction is for M7CL, but all of our consoles which uses Studio Manger V2 have same capability.)
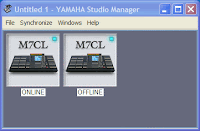 -- Open two M7CL editor --
1. Open Studio manager V2.
2. Add two M7CL to the work space and name them as "ONLINE" and "OFFLINE". (Press [F2] to edit the name.)
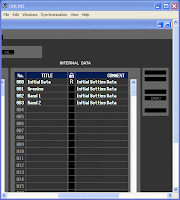 -- 1st editor is online with the console --
3. Open ONLINE editor and setup connection to the console to make it online.
4. Re-synchronize it to the console with "Console > PC" option.
5. Open Scene window. You should see all Scenes on the console in the screen.
Now every change you make on the ONLINE editor will be affected to the running console.
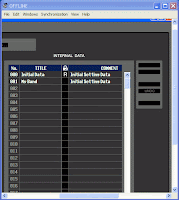 -- 2nd editor is offline. Open the file with it --
6. Open OFFLINE editor. It doesn't need any port setup and will stay offline with the console.
7. Open the file on the OFFLINE editor and open Scene window.
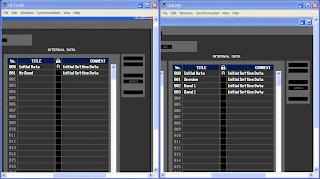 -- Drag and drop between them --
8. Put those two editor windows next to each other.
9. In OFFLINE editor, select a scene(s) you need to copy to the console. [Ctrl] and/or [Shift] can be used to select two or more scenes.
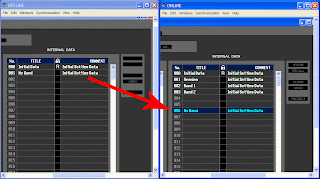 10. Drag it (them) to the ONLINE editor window and drop on the empty scene memory.
11. Only the selected Scene information will be copied to the console without overwriting other data.
Note:
This technique can be used for Library, too.
Note 2:
For PM5D users, please copy linked Libraries with the Scene.
No comments:
Post a Comment